Provisioning Mode
Provisioning mode creates a temporary WiFi hotspot — when the device has no network or a misconfiguration prevents access, long-press Button A for 1–3s to enter. Configure the network, save, and exit. Unlike AP Mode: provisioning mode auto-closes after configuration; AP mode stays on continuously.
When to Use
| Scenario | Description |
|---|---|
| First-time setup | Device has no network — use provisioning mode to configure WiFi |
| Recovery | Changed IP or MAC and can't connect — re-enter provisioning mode to fix |
| Network switch | Moved to a different router or network — old config is invalid |
Difference from Button B
| Feature | Button A (1–3s) | Button B (3–5s) |
|---|---|---|
| Mode triggered | Provisioning mode (temporary) | AP hotspot (persistent) |
| Purpose | First setup / recovery | Daily hotspot toggle |
| Exit method | Click Save in provisioning page, or long-press Button A / B for 1s to force exit | Long-press Button B 3–5s again |
Enter Provisioning Mode
- Make sure the device is powered on and the OLED is lit
- Long-press Button A for 1–3 seconds
- Release when the OLED shows the AP icon
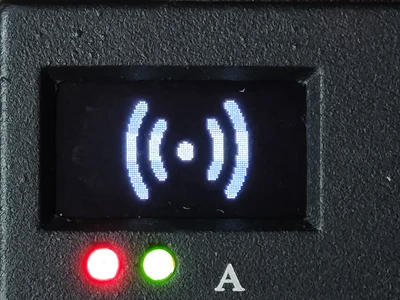
Holding less than 1s won't trigger; holding more than 3s returns to home. If you miss the timing, release and try again.
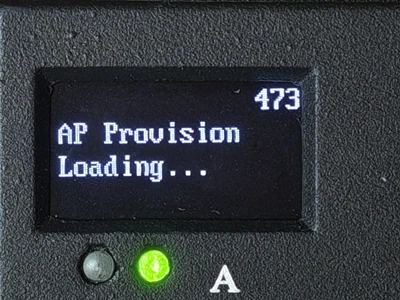
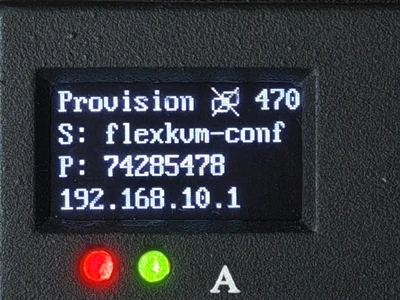
After releasing, the standby screen appears. After ~12 seconds, the OLED shows the hotspot name, random password (8 digits), and IP address:
Connect to the Hotspot
Phone: Find the FlexKVM hotspot in WiFi settings → enter the password shown on OLED → a captive portal page opens automatically in the browser — tap to enter the provisioning page. If it doesn't pop up, manually go to http://192.168.10.1. Android users can also tap "Sign in to network" in the notification bar.
Computer: Connect to the hotspot → open a browser and go to http://192.168.10.1.
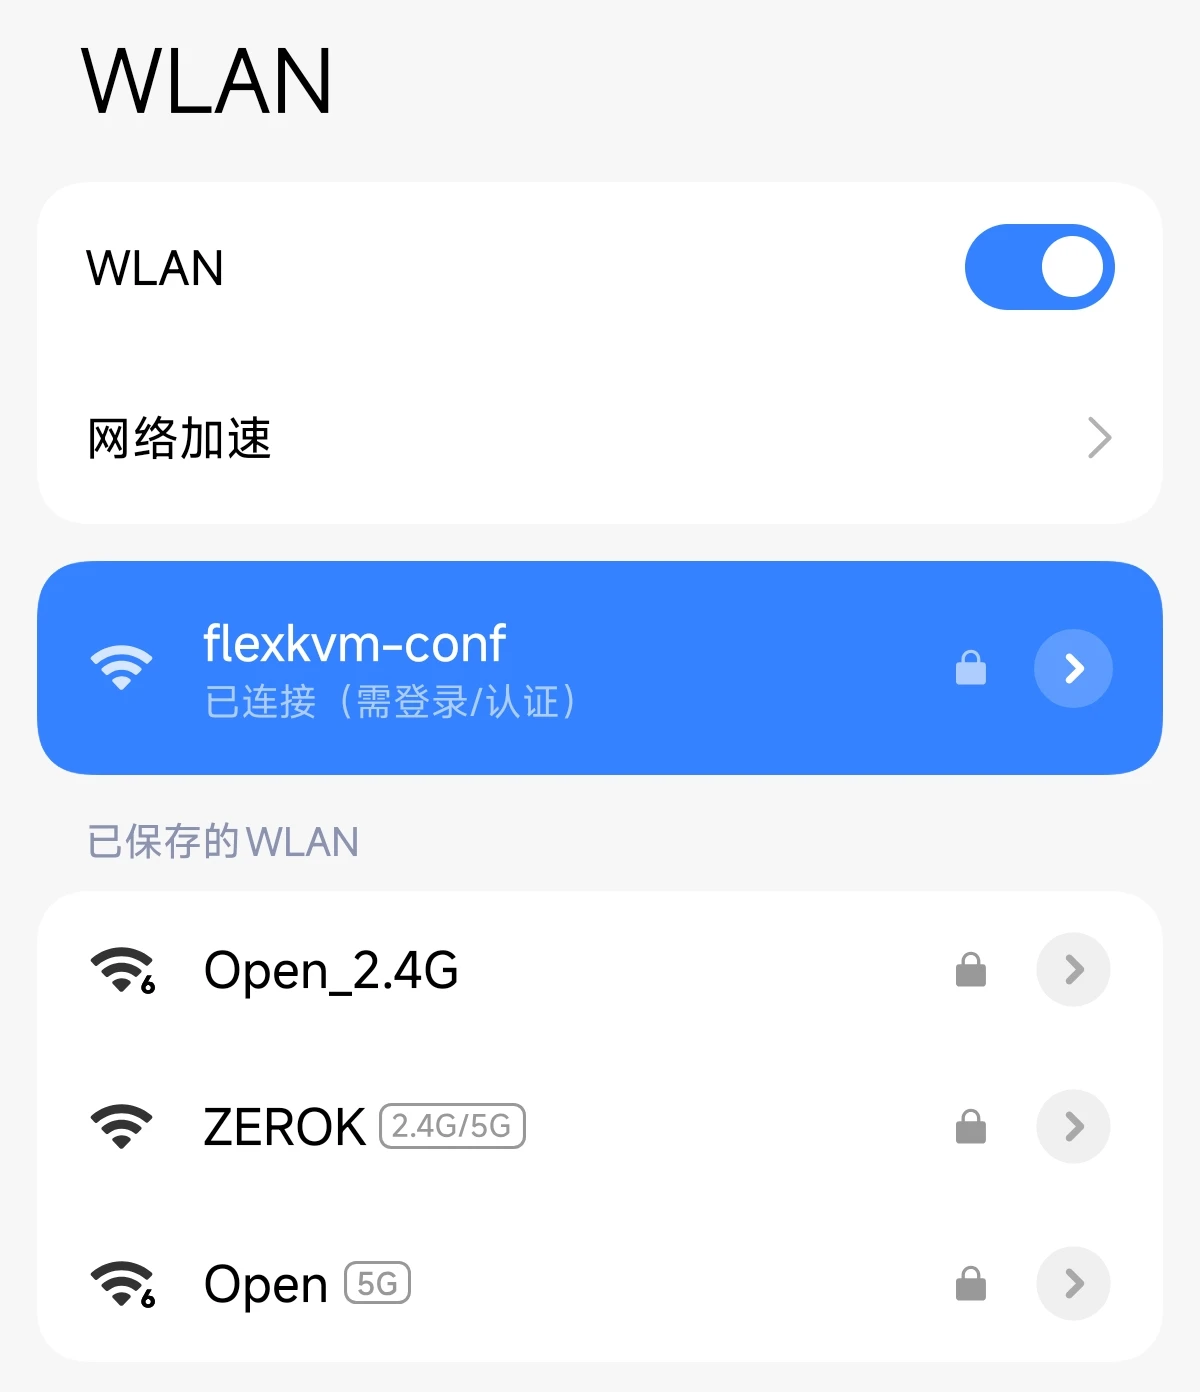
Your phone will temporarily lose internet while connected to the hotspot — it auto-restores after provisioning is complete.
Configure Network
After entering the provisioning page, you'll see the same network settings as the normal Web interface:
When the device clock is inaccurate (e.g. RTC drift after power loss), a calibration prompt appears after connecting to the provisioning page — click Confirm to calibrate the device time to the current time. Calibration doesn't require login and doesn't affect provisioning.
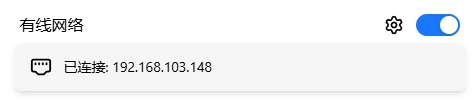
Wired Network
DHCP / Static IP, custom MAC, etc. See Ethernet.
WiFi
Scan nearby WiFi networks, connect, or manually add.
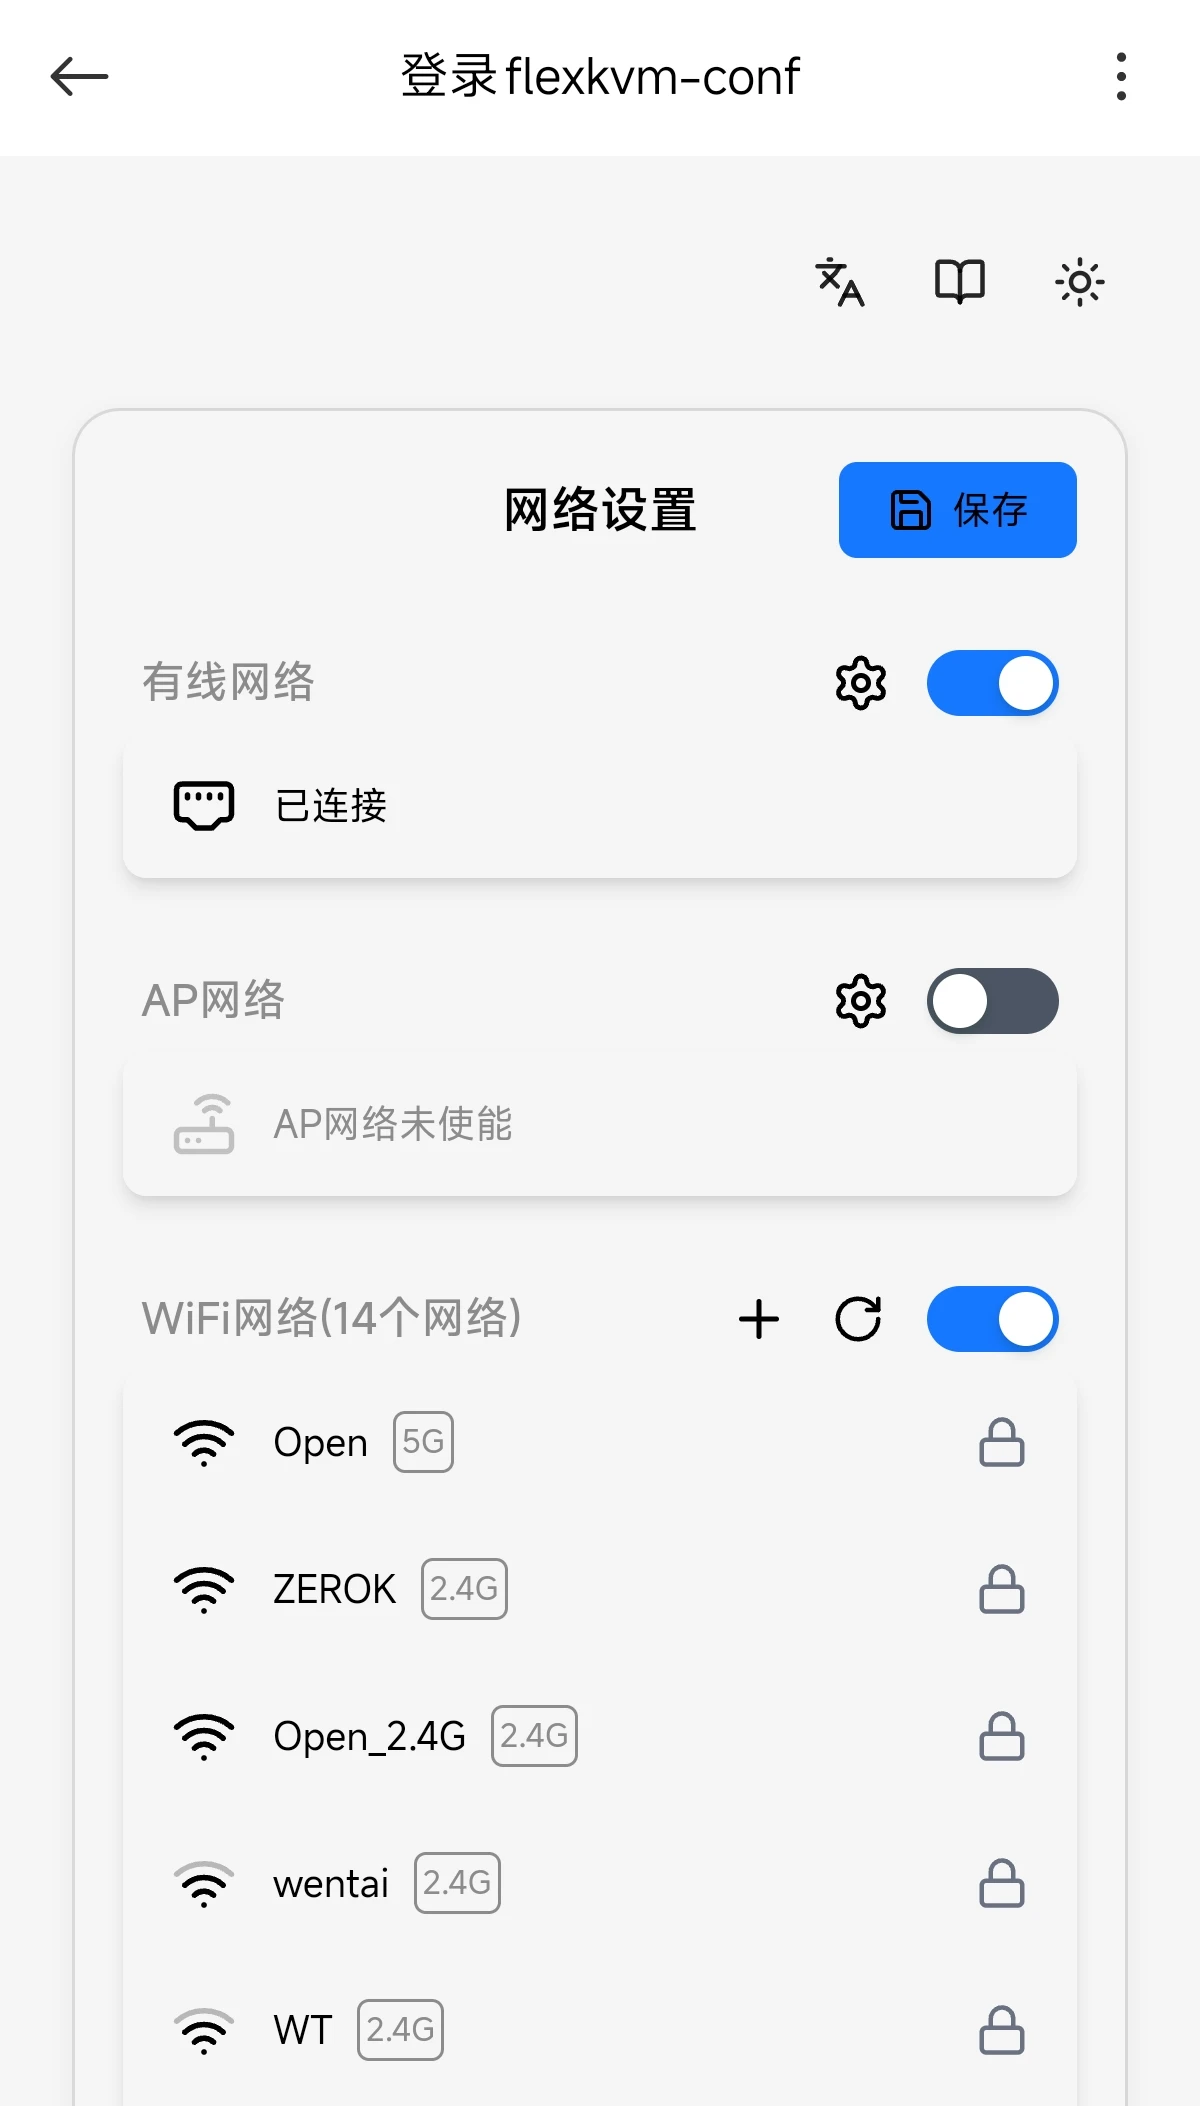
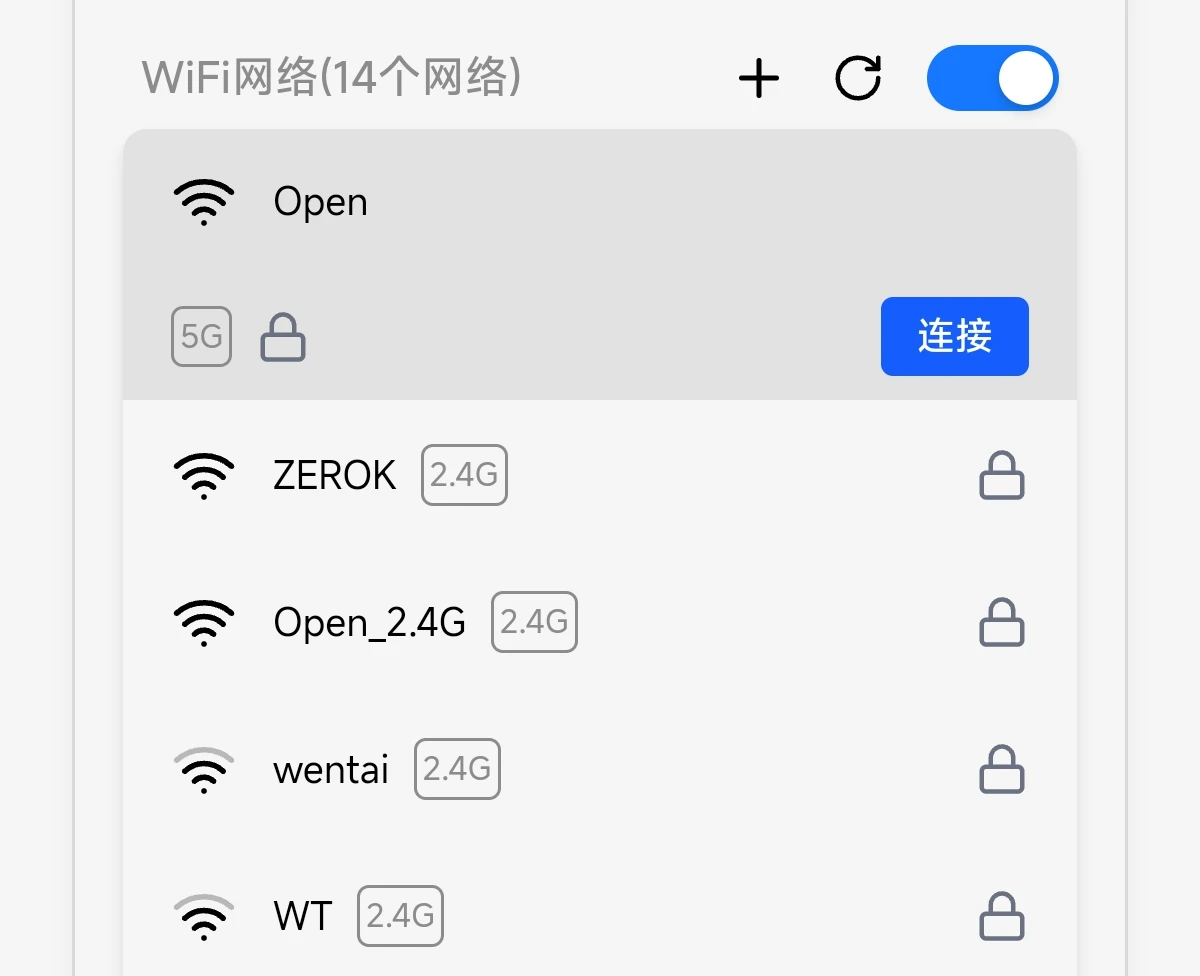
Verify: After connecting → the card shows a "Connected" label.
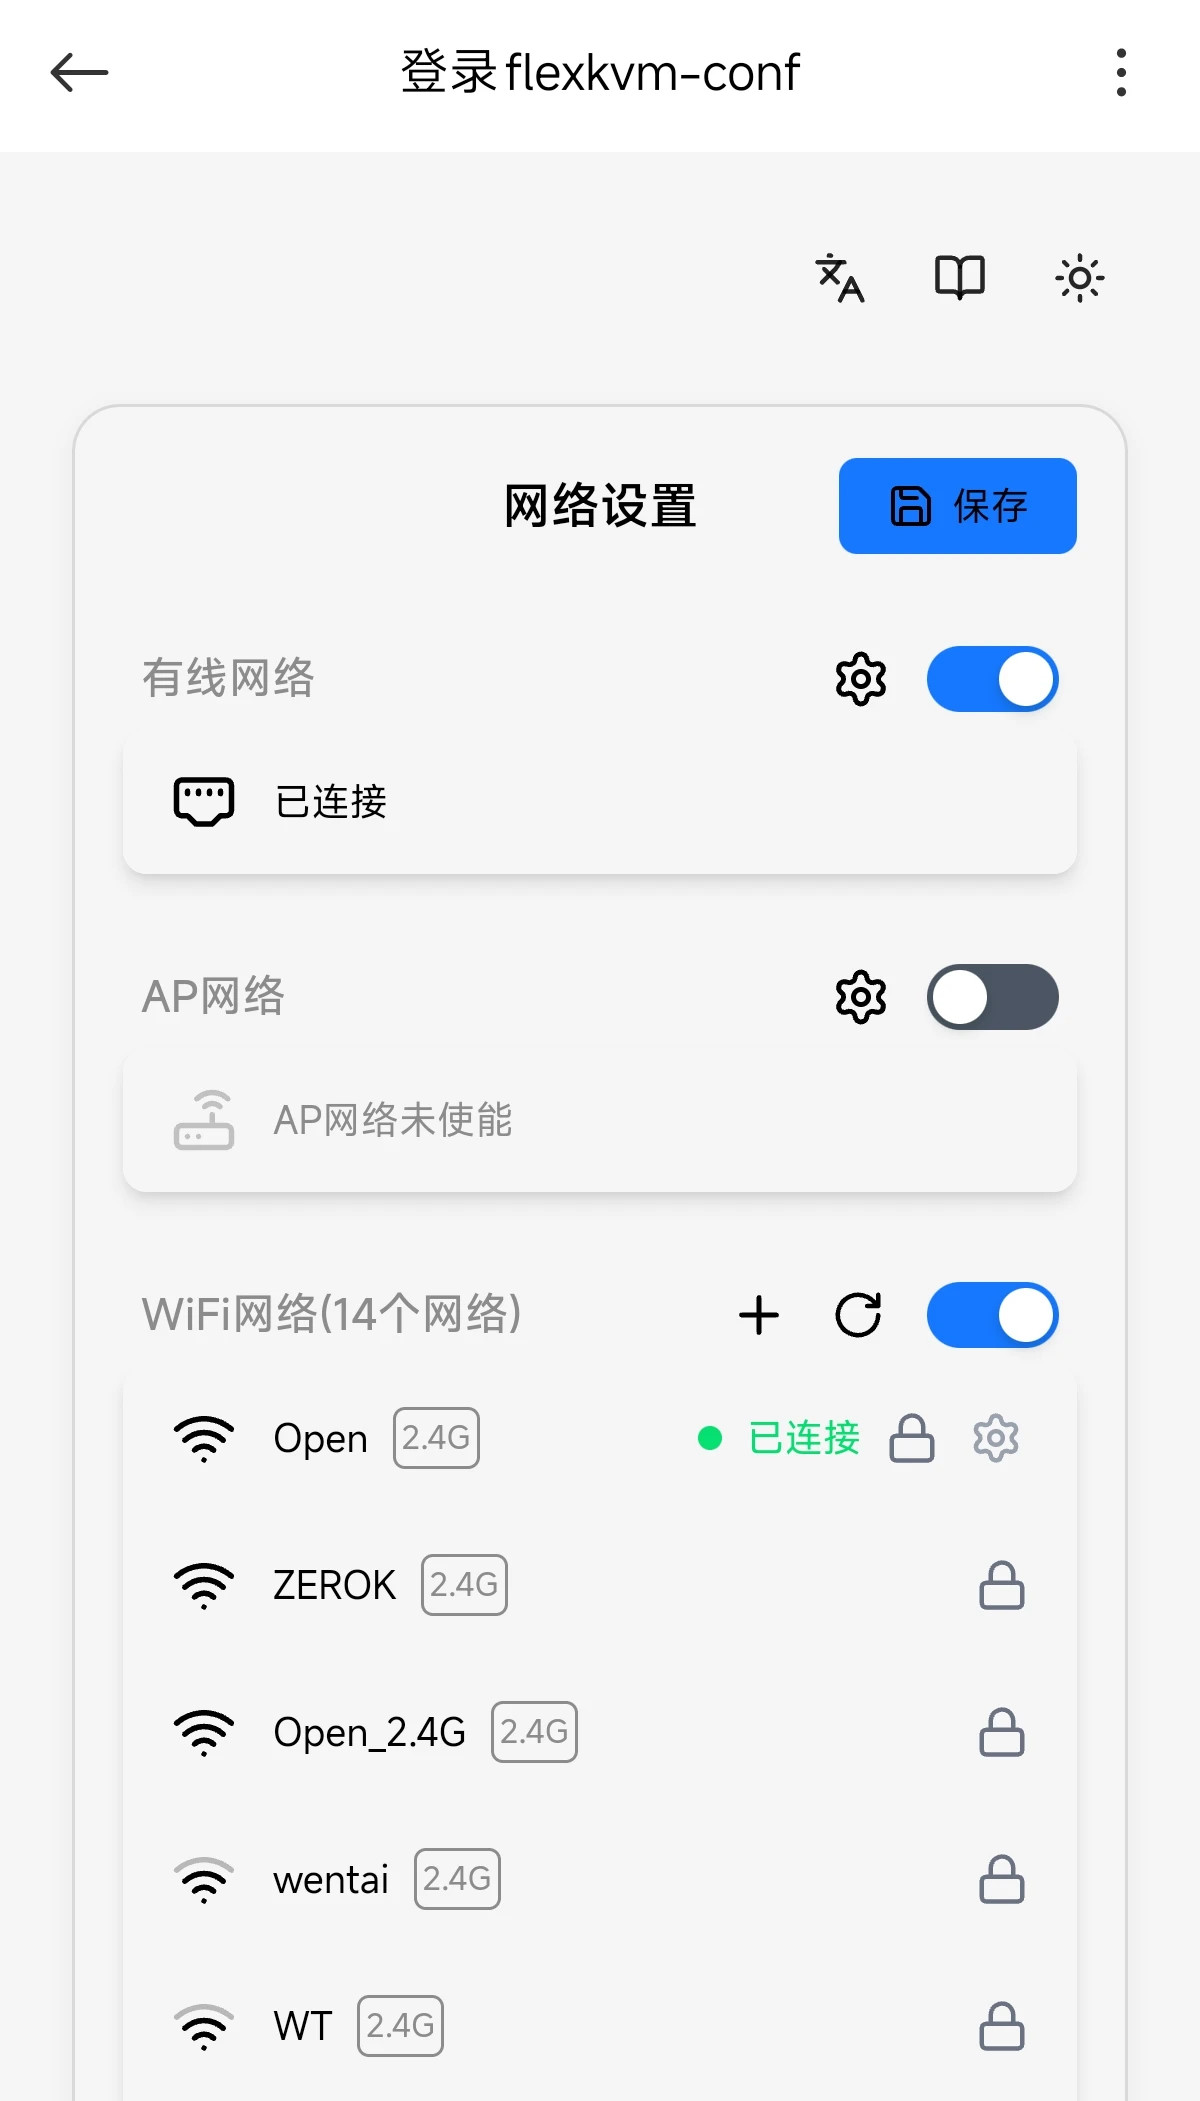
Tap refresh to update the network list. See WiFi.
AP Network
Configure hotspot parameters (SSID, password, band, etc.). Changes are staged and take effect when you save and exit.

See AP Mode.
Save & Exit
When all networks are configured, tap Save in the top-right corner:
- AP configuration takes effect
- Device exits provisioning mode and restarts networking
- OLED shows IP, 🔴 Warning LED turns off
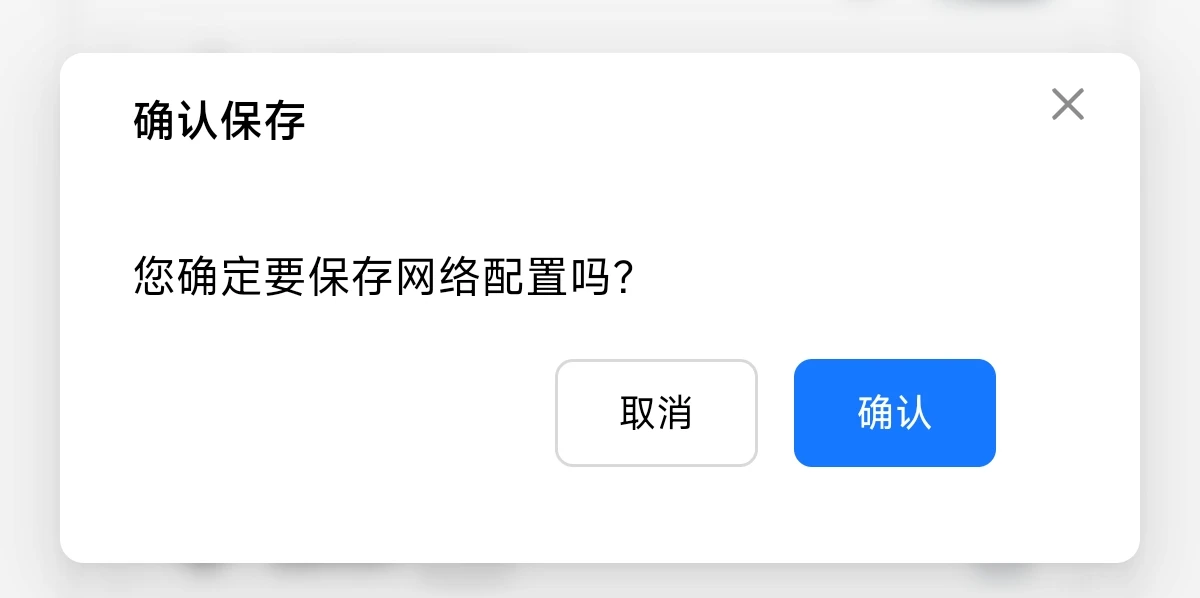
In provisioning mode, you can configure all network types (Ethernet, WiFi, AP) — not just WiFi. If you make a mistake, press the button and re-enter. The session will auto-timeout after prolonged inactivity.